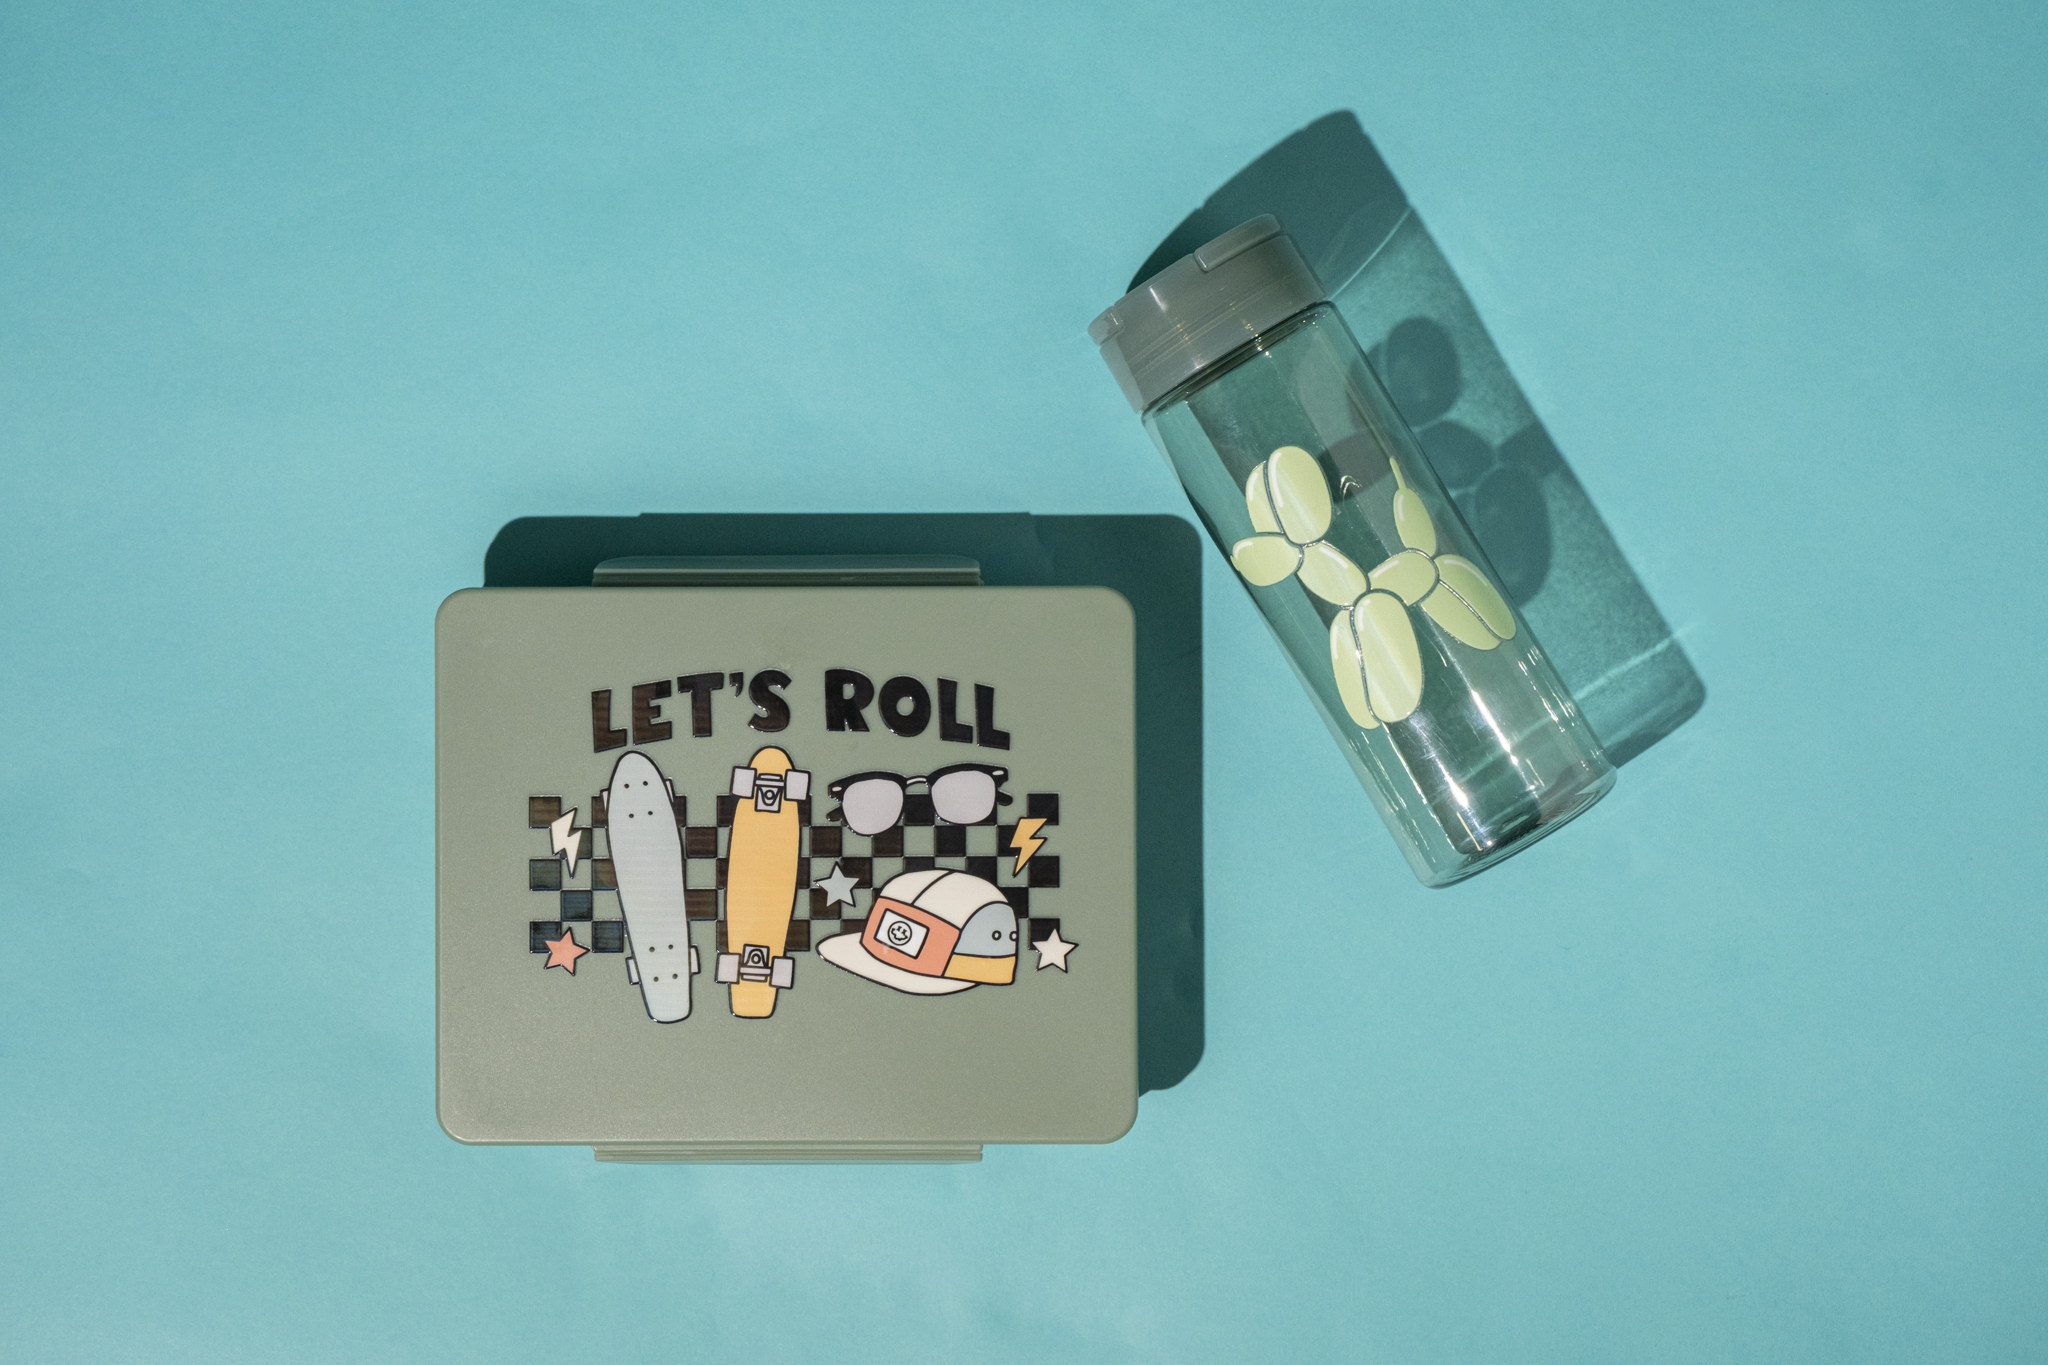
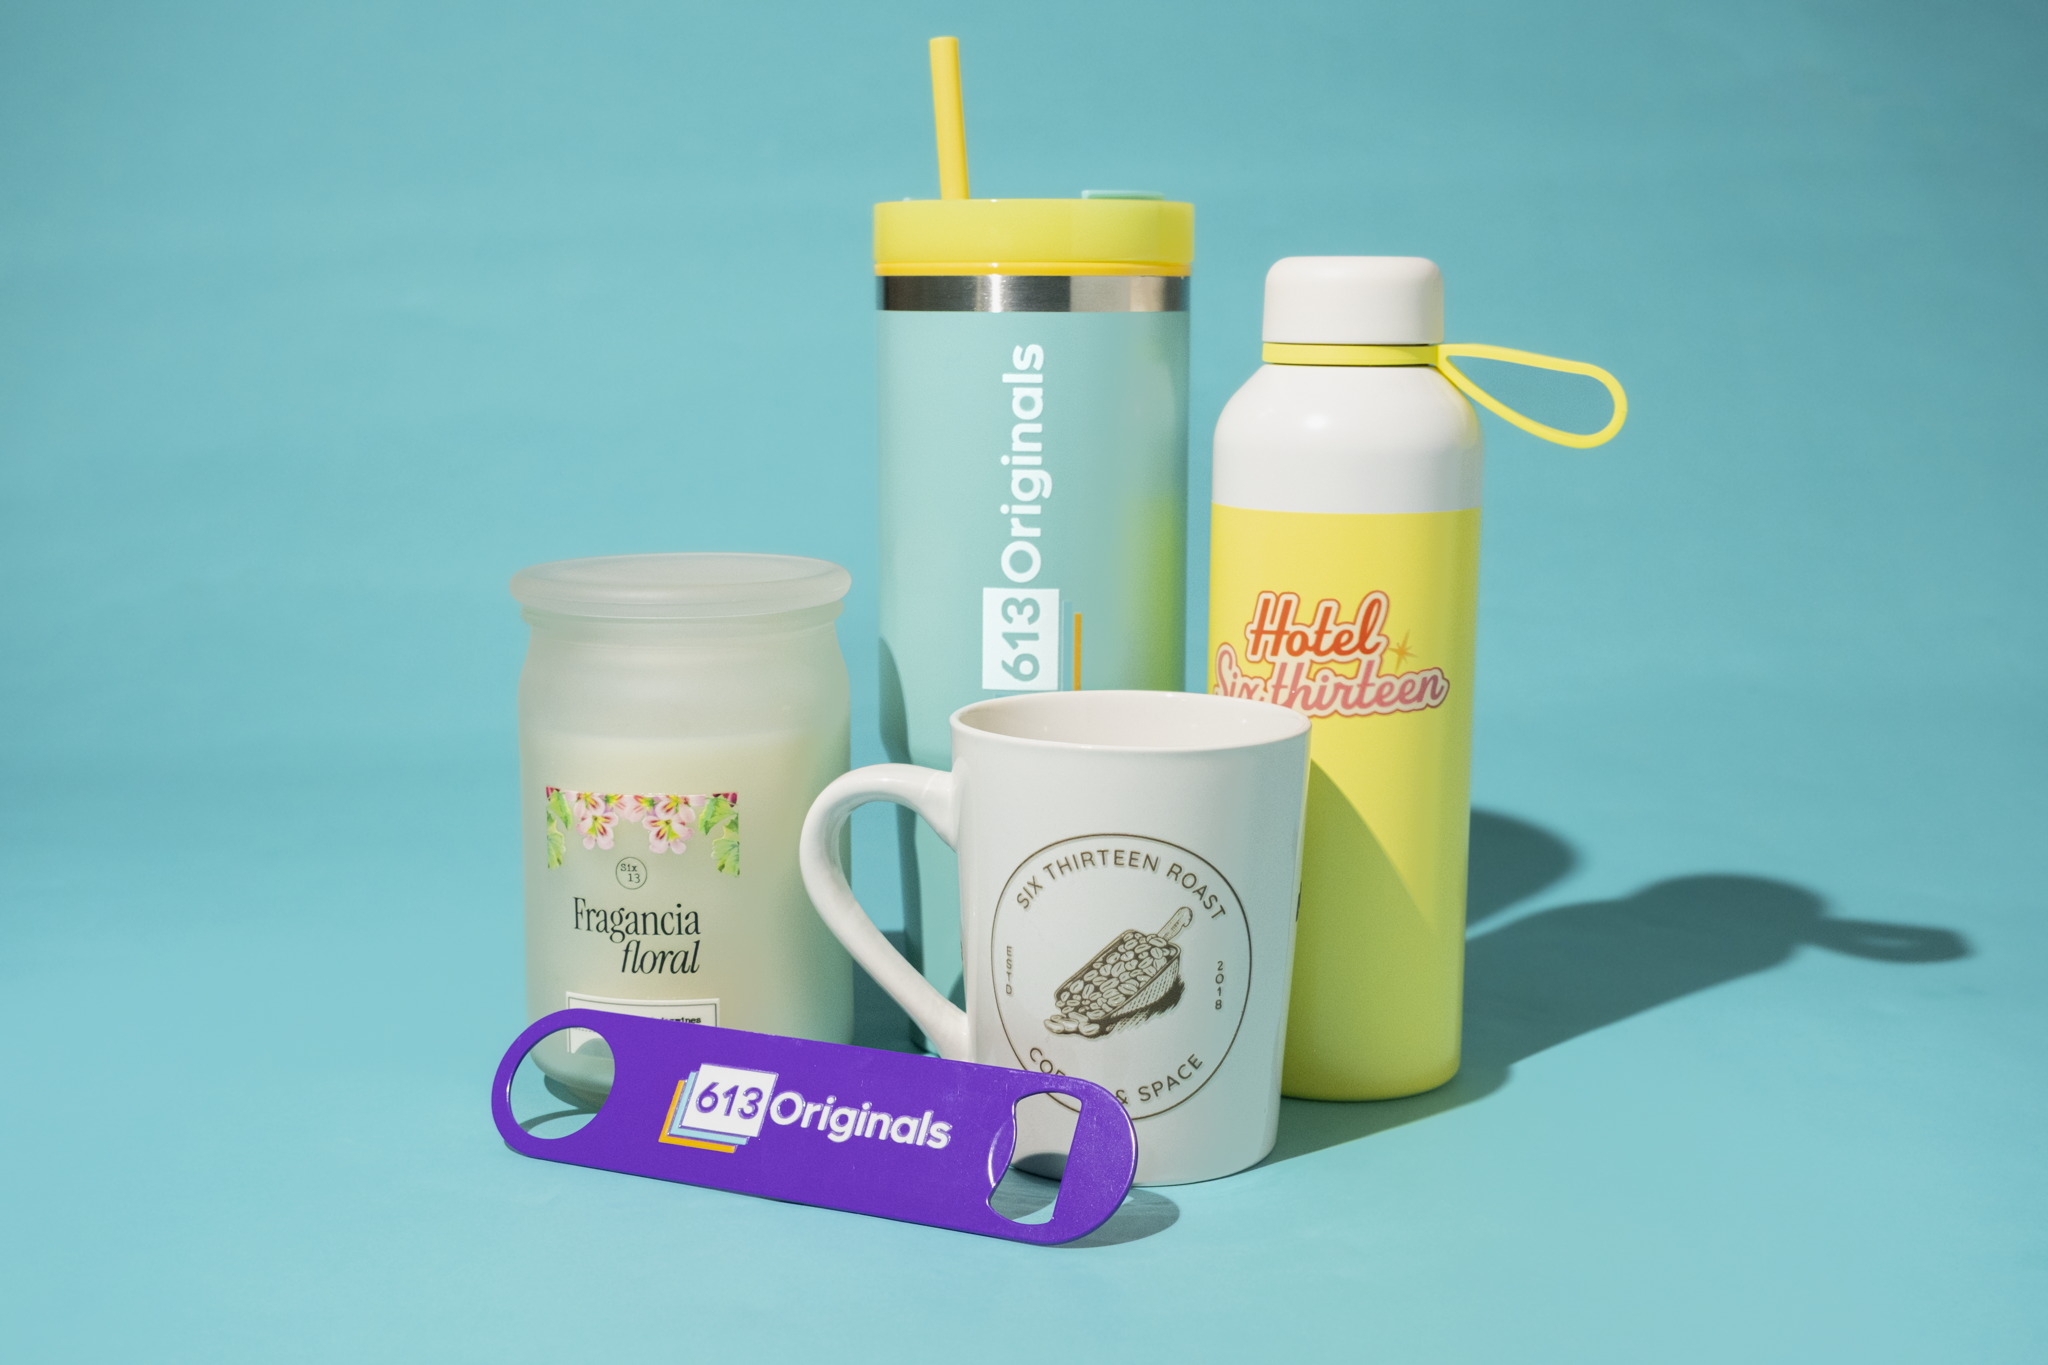
Elevate your customization game with UV DTF Transfers – the fastest and easiest way to create high-quality, long-lasting designs on nearly any hard surface.
Ditch the heat press! Our UV DTF transfers are super easy to apply - just stick & peel.
Please note: All orders containing UV DTF will be produced in Florida.
| QTY | 2" x 2" | 3" x 3" | 4" x 4" | 5" x 5" | 6" x 6" | 7" x 7" | 9" x 9" | 11" x 11" |
|---|---|---|---|---|---|---|---|---|
| 1 | $0.74 | $1.19 | $1.99 | $2.99 | $3.99 | $4.99 | $7.99 | $10.99 |
| 10 | $0.67 | $1.07 | $1.79 | $2.69 | $3.59 | $4.49 | $7.19 | $9.89 |
| 25 | $0.63 | $1.01 | $1.69 | $2.54 | $3.39 | $4.24 | $6.79 | $9.34 |
| 50 | $0.59 | $0.95 | $1.59 | $2.39 | $3.19 | $3.99 | $6.39 | $8.79 |
| 100 | $0.50 | $0.80 | $1.33 | $2.00 | $2.67 | $3.34 | $5.35 | $7.36 |
| 500+ | $0.39 | $0.63 | $1.05 | $1.58 | $2.11 | $2.64 | $4.23 | $5.82 |
Great for any single image design, intended to be applied in one area, without cutting the design apart. Your artwork can be any size, as long as it fits o the sheet size selected.
Single Image Sizes: 2" x 2", 3" x 3", 4" x 4", 5" x 5", 6" x 6", 7" x 7", 9" x 9", 11" x 11"
This program allows you to add multiple images of the same or different sizes for no additional cost. We recommend adding .5" of space between each image to allow for cutting.
Gang Sheet Sizes: 22" x 12" and 22" x 24"
 1. Save
your art file in an accepted file format
1. Save
your art file in an accepted file format
If using Corel Draw, please save your file as a PDF before submitting.
![]()
We will print your artwork at the size you submit. We will not resize your artwork to the sheet size selected. For example: If you select a 22"x12" sheet, but upload an image that is 8"x8", we will print your image at the size you uploaded (8"x8"). You are responsible for confirming your artwork's size. If you need help, we can provide artwork services for an additional fee.

We will print the RGB or CMYK values in your file as submitted. For any areas you want to print WHITE, please make sure those areas are WHITE in your artwork. Remove any unwanted backgrounds or colors from your artwork before uploading.
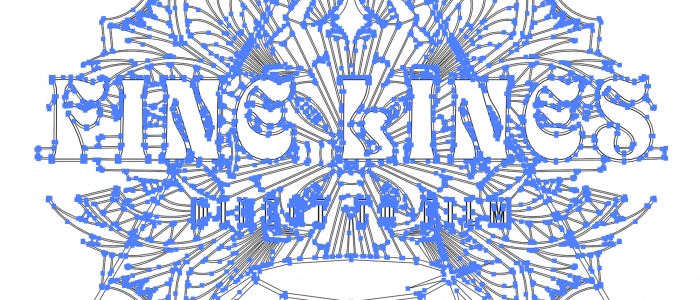
Make sure your fonts are not “live fonts” they should be converted to non-editable vectors.

We recommend printing areas be at least .5 point thick for easy application. We recommend at least 1pt of negative space for non-printing areas. Details that fall under this recommended spec may not apply easily or at all.
Click here to read
detailed application instructions, including tips and tricks to ensure proper application.
Please note: HAND WASH ONLY. Not suitable for use in a microwave or dishwasher. Please read instructions carefully before use.
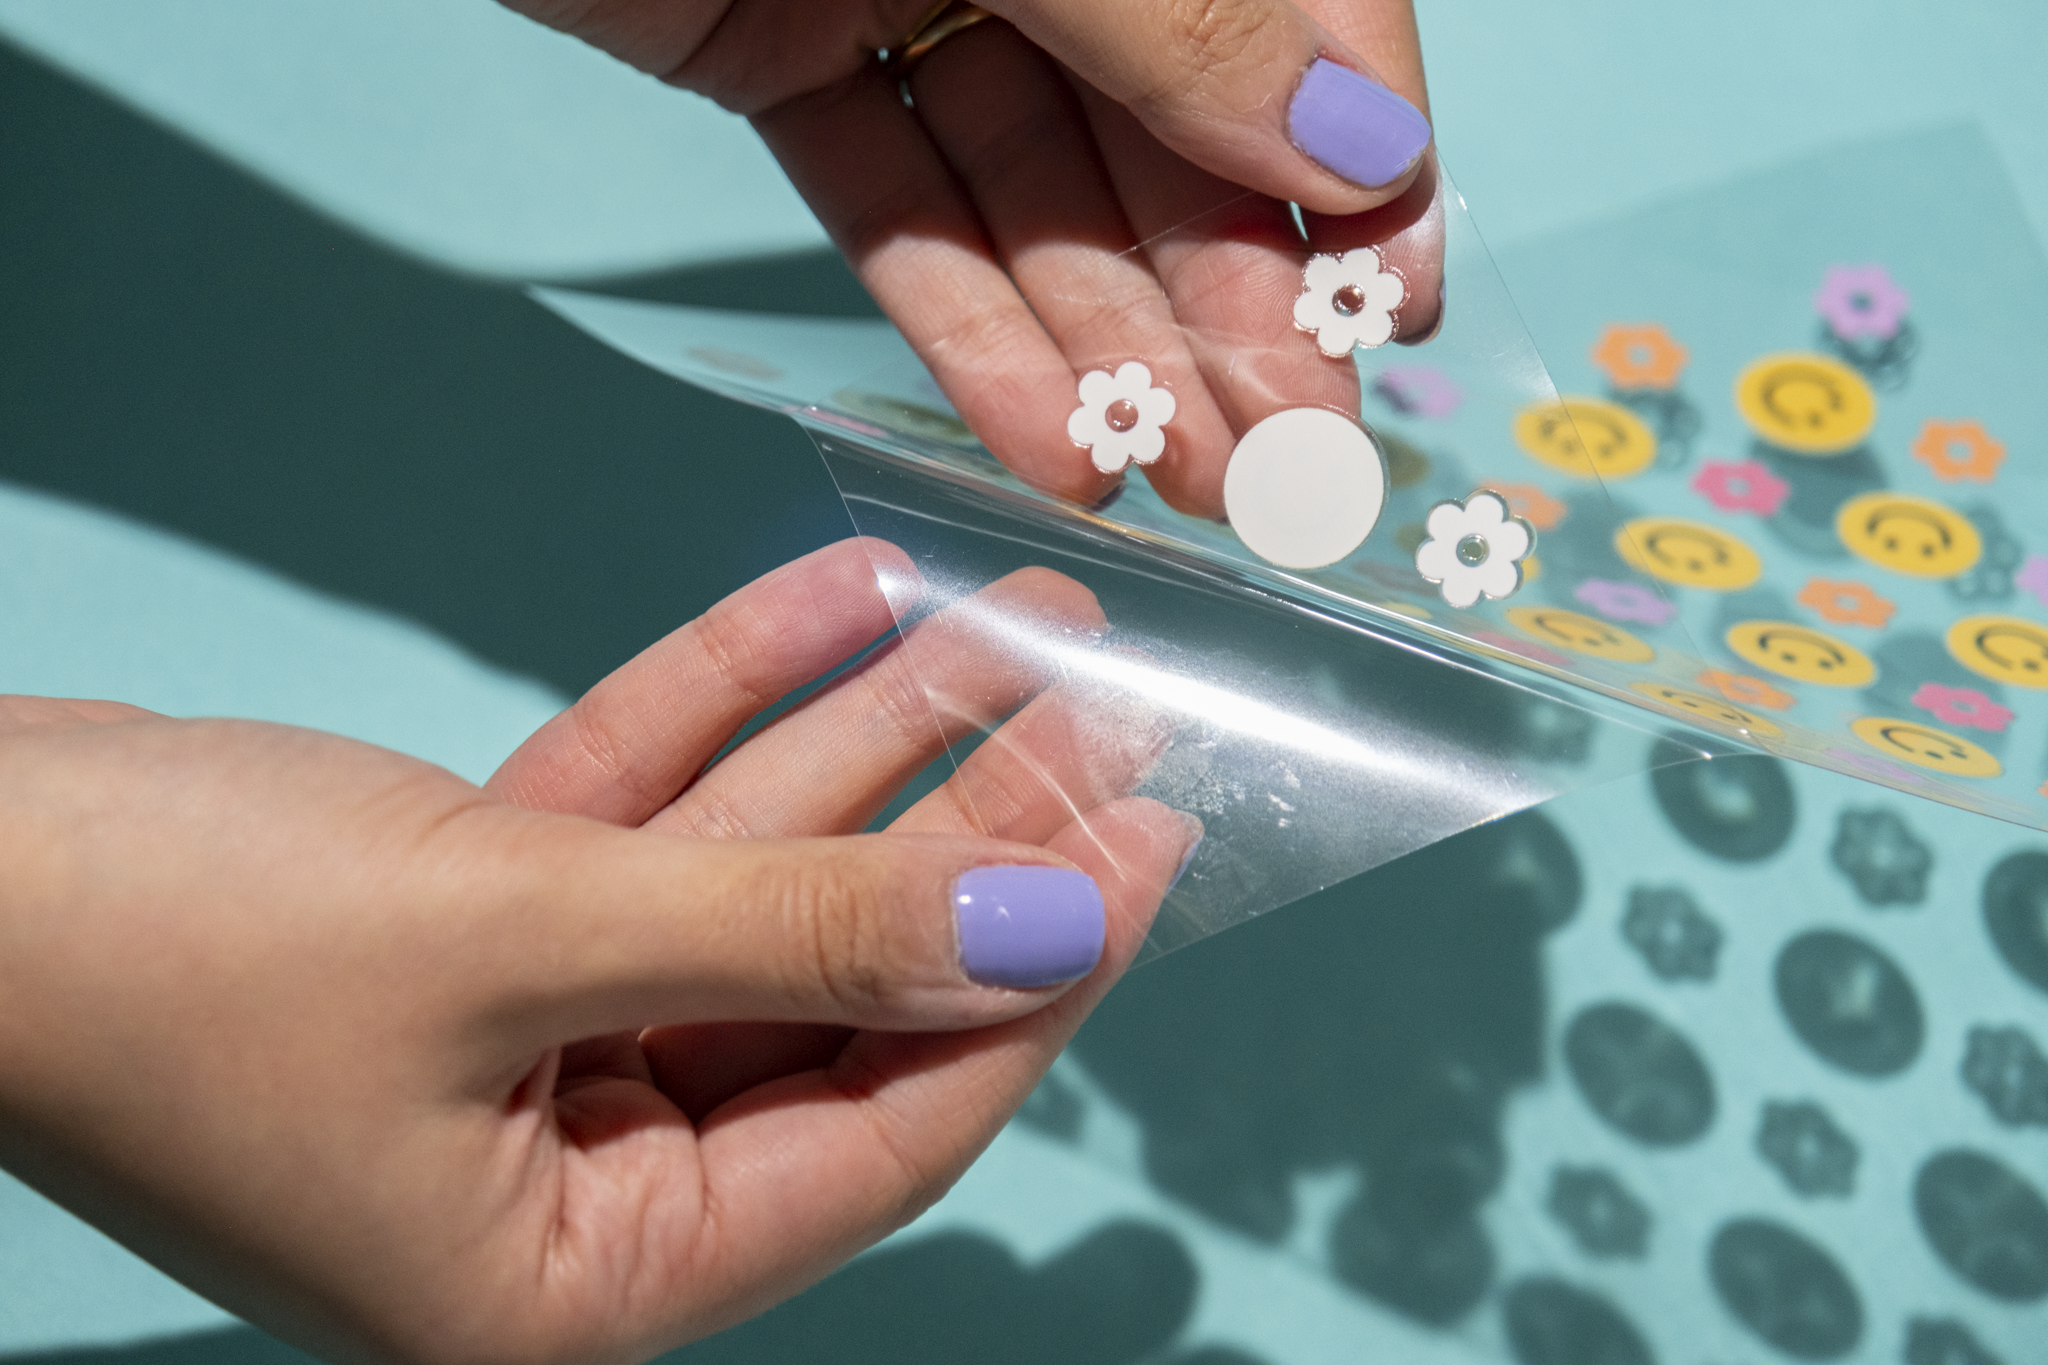
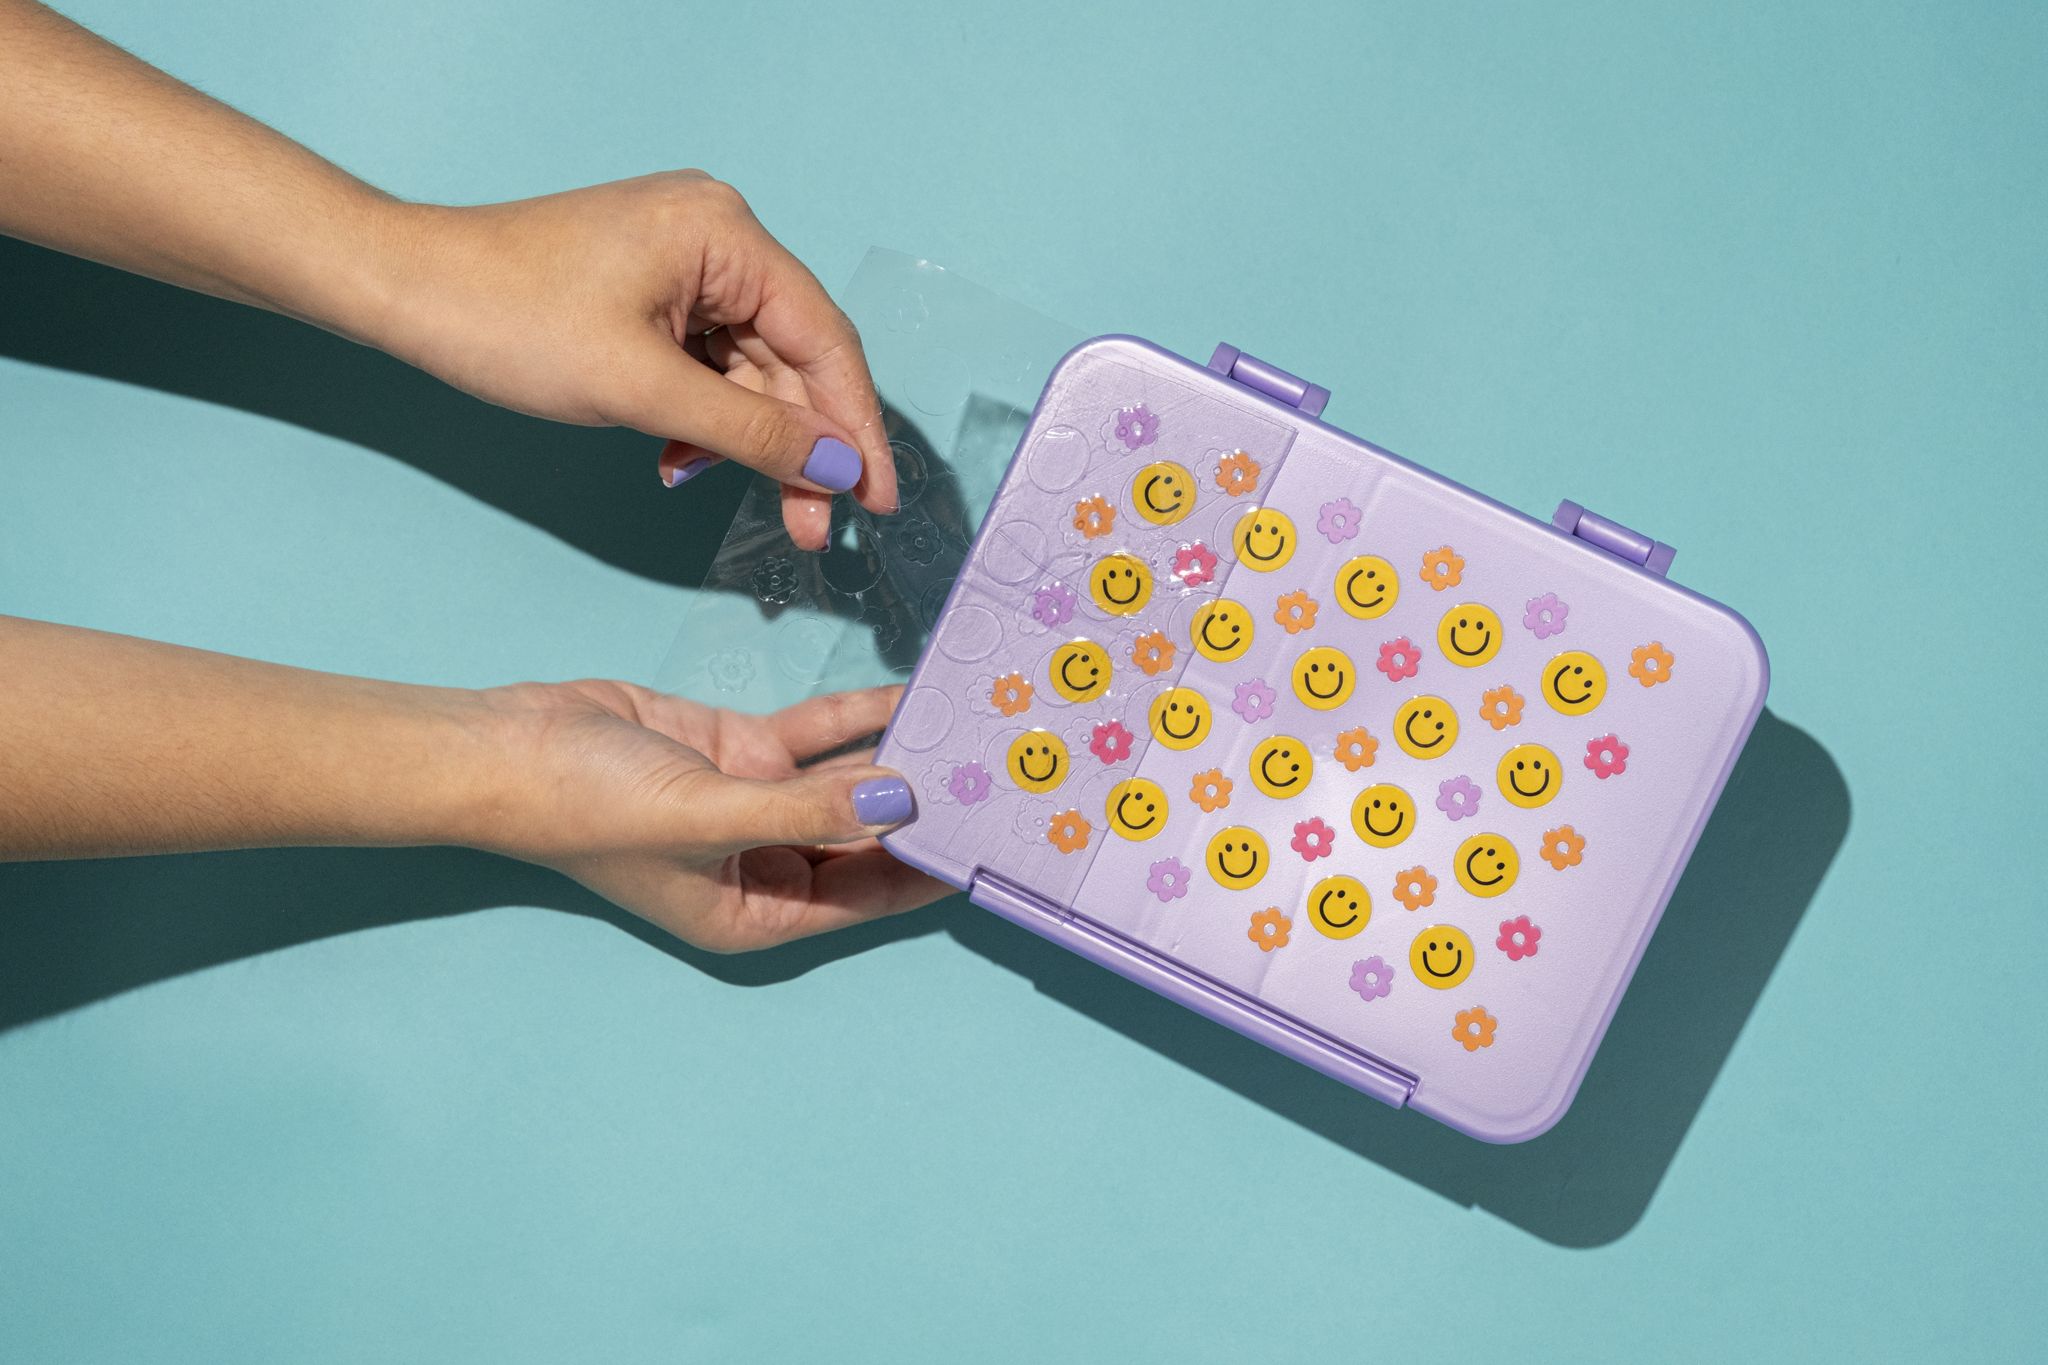
Verify that the size of the UV DTF transfer will lay flat against the intended substrate. Separate the top clear film with the UV DTF transfer from the bottom clear backing. Place the transfer on top of the intended substrate ensuring the design is positioned properly.
Once positioned, press the transfer down firmly, working from the bottom center of the transfer upwards and outwards, pushing out any bubbles you may find.
Continue pressing the design from the center outward to ensure it has completely adhered. You may use your fingers or a squeegee to help with this step.
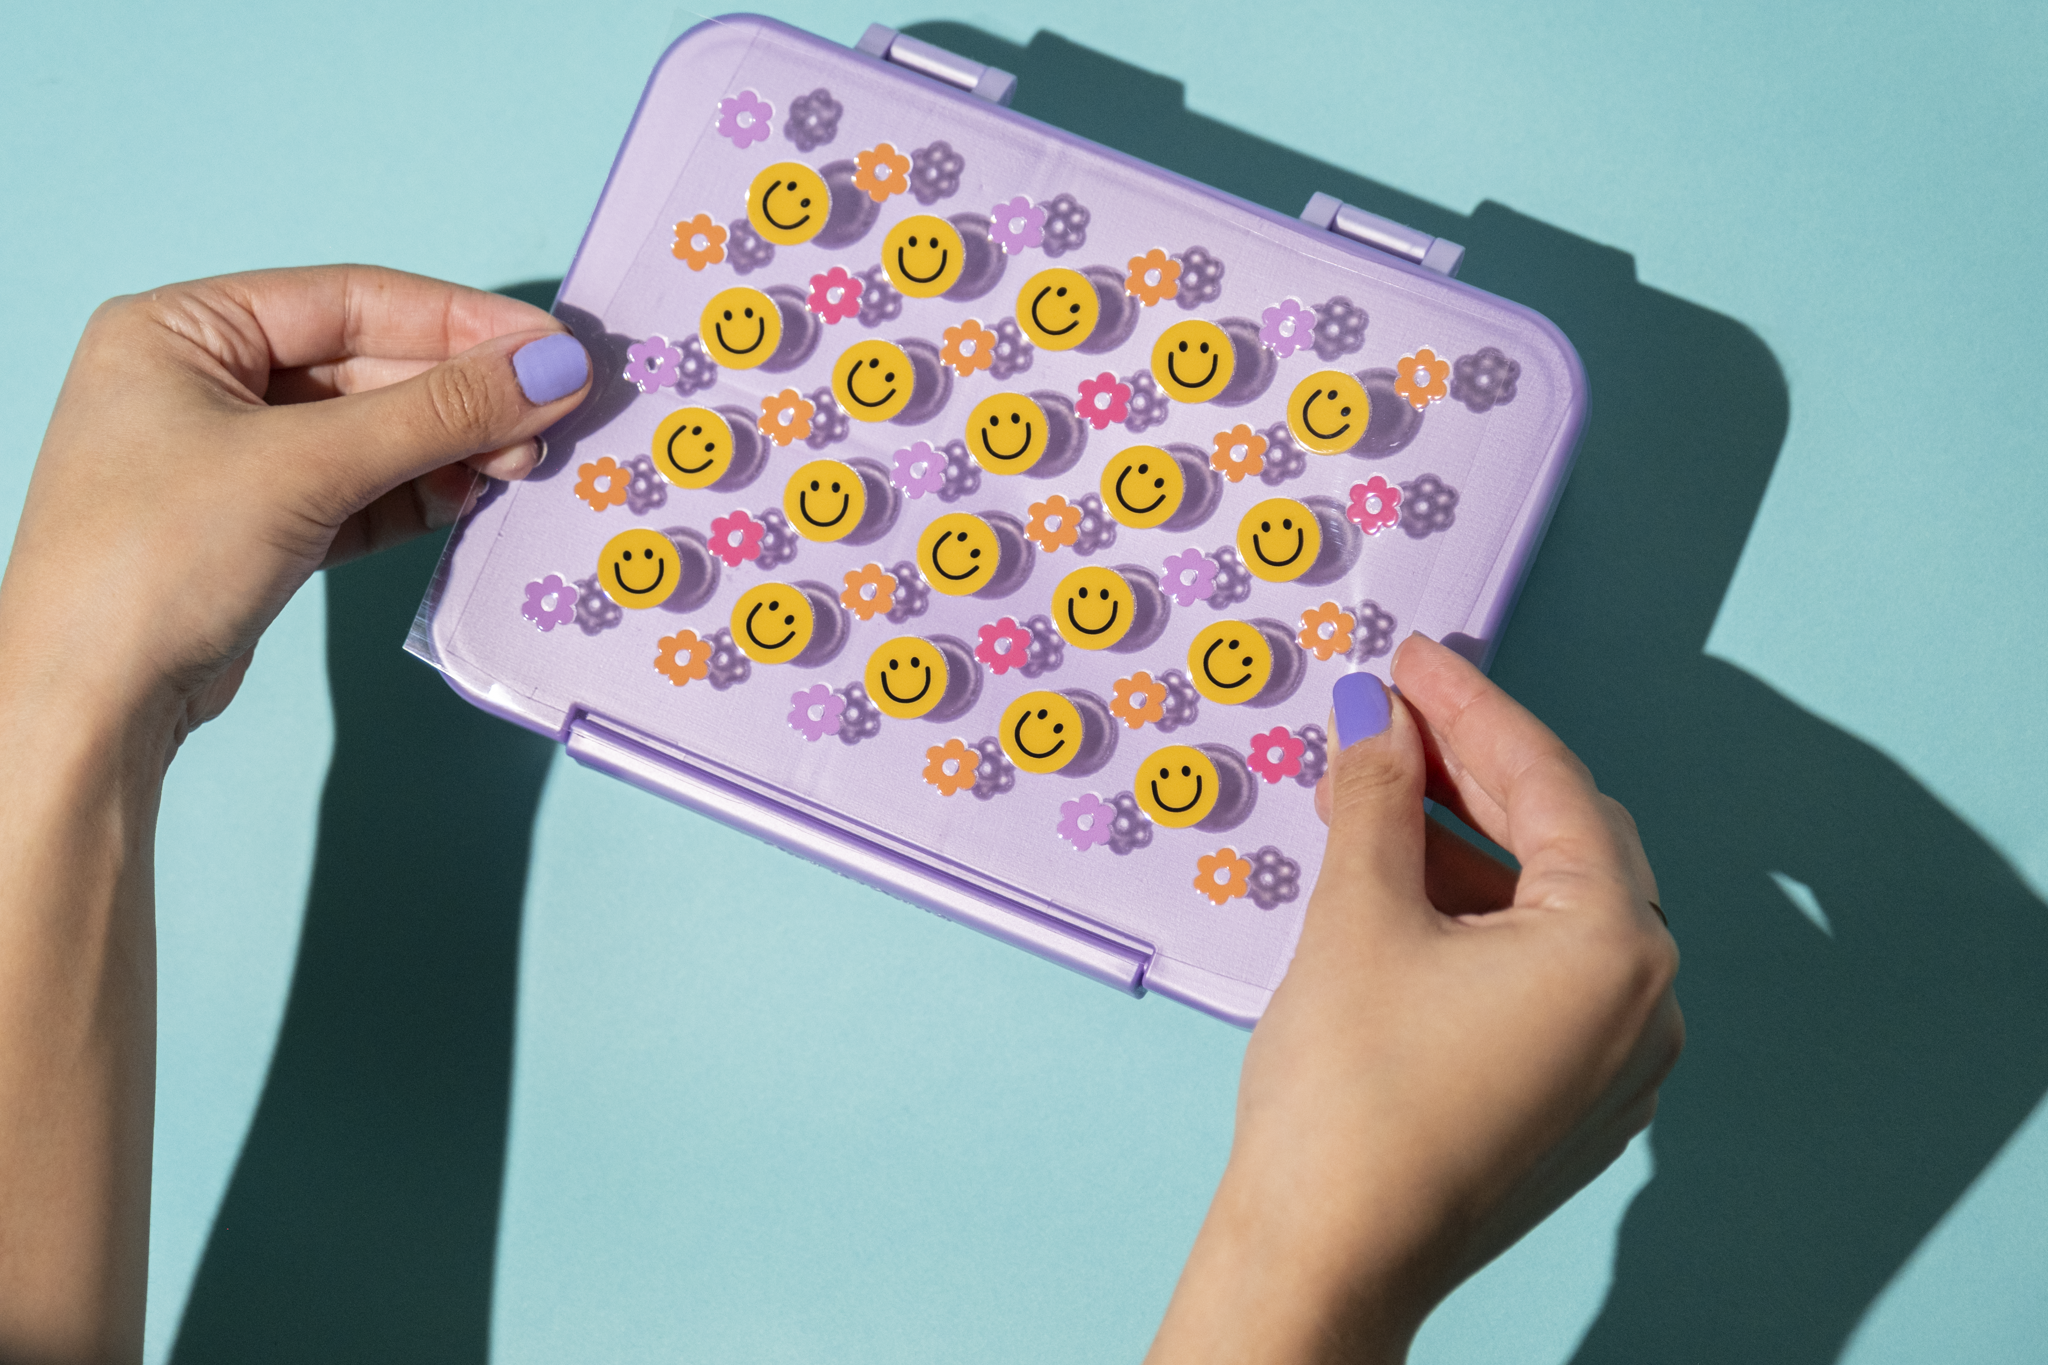
Slowly and carefully remove the top clear film from the design. If any area begins to peel up, stop and press the top clear film back down and rub firmly before continuing.